
Bake the Perfect Rustic No-Knead Rosemary Garlic Bread: Your New Favorite Recipe!
Introduction
There’s something magical about the smell of freshly baked bread wafting through the house. I can still remember the first time I attempted to make bread; the sense of accomplishment and satisfaction was enough to make my heart flutter. That’s why I’m beyond excited to share my take on Rustic No-Knead Rosemary Garlic Bread—a recipe that has become a staple not just in my kitchen, but in the hearts and homes of my family.
What sets this bread apart from others? No kneading required! That’s right. This artisan delight is infused with the aromatic essence of rosemary and the savory punch of garlic, crowned with a golden-brown crust that invites you to tear off a piece as soon as it cools. It’s not just a culinary triumph; it’s a slice of comfort that transports my family back to days spent gathered around the dinner table, laughter spilling over like the bread itself.
In this recipe, you’ll learn the step-by-step secrets to achieving that perfect loaf—no fancy equipment or complicated techniques required. If you’ve ever wanted the warmth of home-baked bread with just the right touch of herbaceous flavor, you’re in for a treat!
What Are Rustic No-Knead Rosemary Garlic Breads?
Rustic No-Knead Rosemary Garlic Bread hails from the no-knead bread phenomenon that took the baking world by storm. Originating from the desire to make homemade bread more accessible, this method allows anyone, regardless of their baking experience, to whip up a loaf that’s both rustic and stunning.
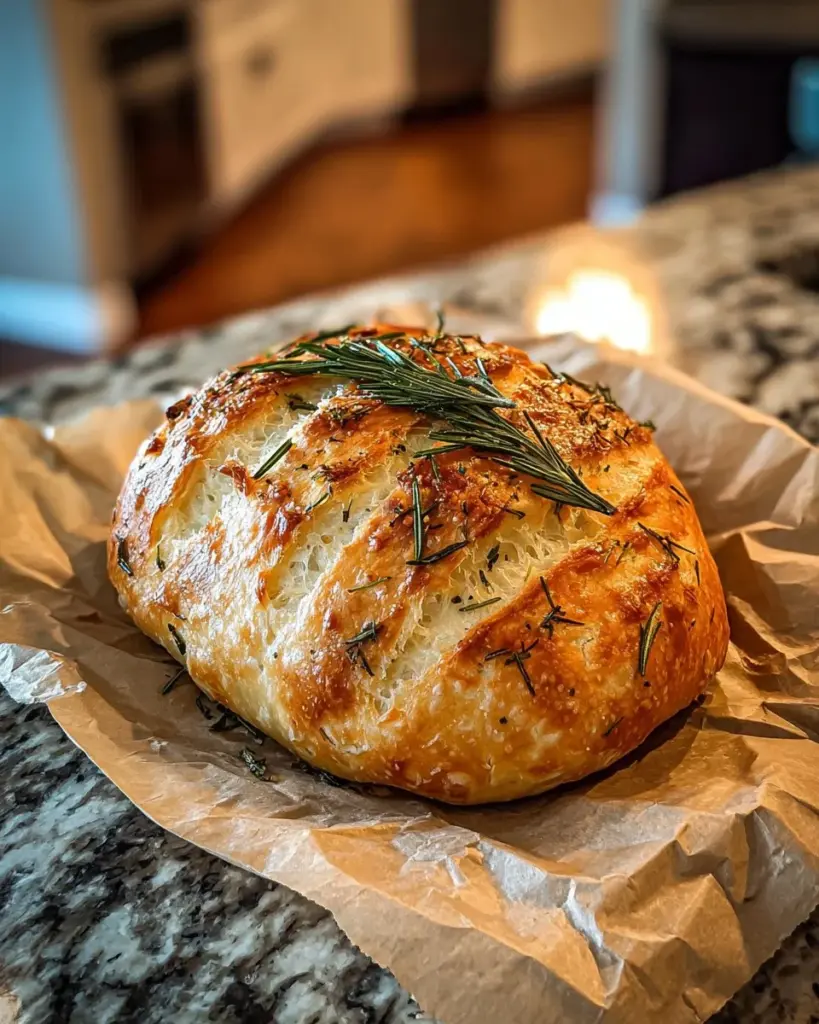
When you slice into this bread, the first thing you’ll notice is its chewy crust that gives way to a light, airy crumb, beckoning you for just one more piece. The infusion of rosemary combined with roasted garlic creates an unforgettable flavor profile that elevates any meal—from a casual dinner to a special occasion.
This bread is perfect for gatherings, cozy family dinners, or simply enjoying with a splash of good olive oil as an afternoon snack. Its simplicity and bold flavors are what make it a must-try, whether you’re a novice baker or a seasoned pro looking for a foolproof recipe.
Why You’ll Love This Recipe
Effortless Preparation: Forget about hours of kneading! This no-knead technique uses a long fermentation process instead.
Breathtaking Flavor: The combination of fresh rosemary and garlic not only complements the bread but enhances its rustic charm, making it a perfect pairing for soups or salads.
Budget-Friendly: Imagine enjoying high-quality artisan bread without breaking the bank. This recipe is very cost-effective compared to purchasing gourmet bread from the store.
Customizable: Play around with different herbs or add in your favorite spices to cater to your own palate. Love sun-dried tomatoes? Toss them in!
Perfect for Any Occasion: This Rustic No-Knead Rosemary Garlic Bread is versatile enough to accompany a casual weekday dinner or serve as the star of an elegant dinner party.
With a minimal investment of time and effort, you’ll be rewarded with a beautiful, aromatic loaf that will leave everyone asking for seconds!

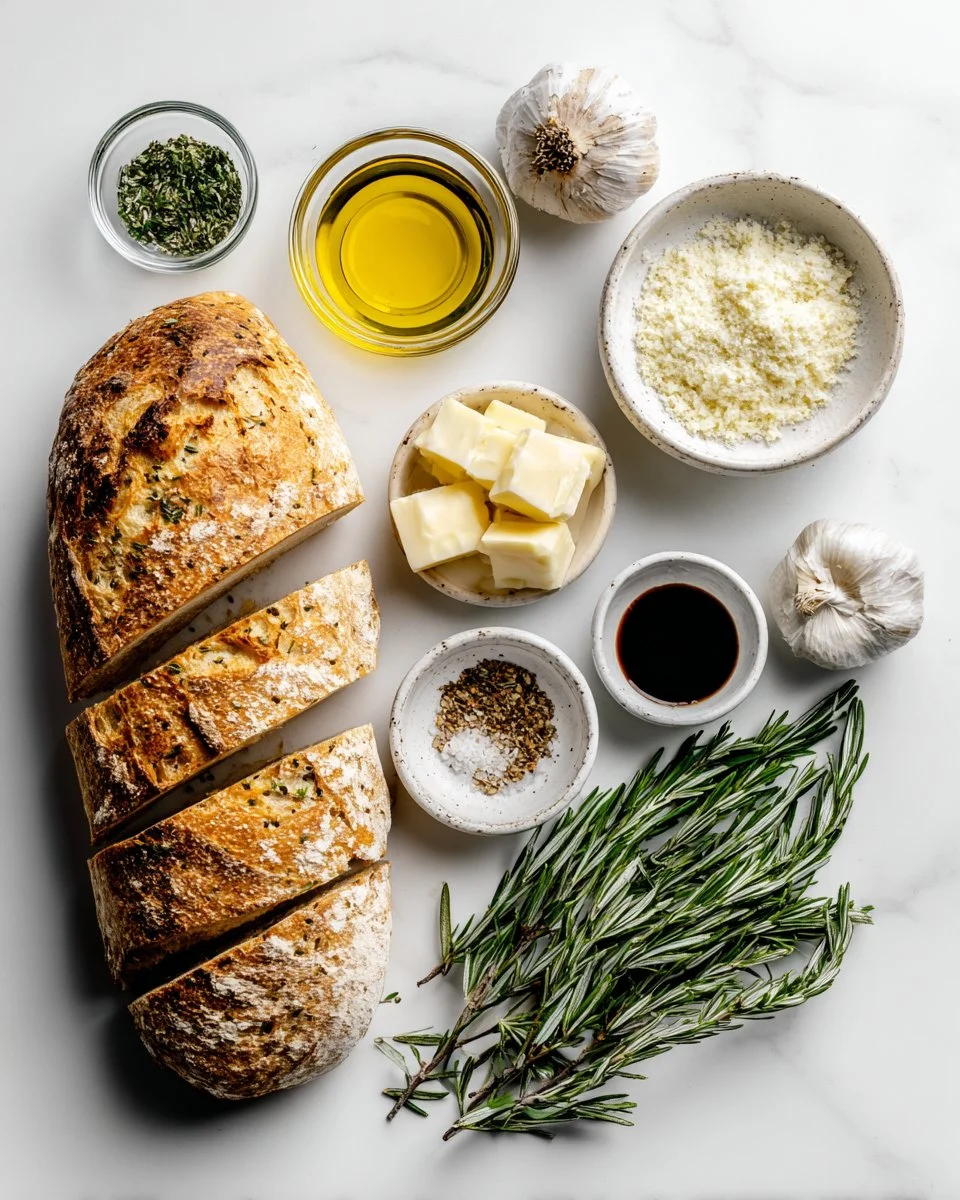
Ingredients
This Rustic No-Knead Rosemary Garlic Bread is an artisan delight with no kneading required. Infused with fragrant rosemary and savory garlic, it features a crisp golden crust and a soft, airy crumb. Perfect for beginners and seasoned bakers alike, this bread is a simple, flavorful addition to any meal! Here’s what you’ll need to get started:
- 3 cups all-purpose flour (or bread flour for a chewier texture; I love using King Arthur brand)
- 1 ½ tsp fine sea salt (for flavor; I recommend Diamond Crystal)
- ½ tsp instant yeast (don’t use active dry yeast; it requires different handling)
- 1 ½ cups lukewarm water (ideally around 100°F; I use filtered water for the best taste)
- 2 tbsp fresh rosemary (finely chopped; feel free to use dried in a pinch)
- 4 cloves garlic (minced; roasted garlic takes the flavor up a notch!)
Prep Notes: Ensure any butter you’re using is at room temperature to make it easier to mix. Additionally, if you like, allow your garlic to roast while the dough comes together for a deeper flavor.
Step-by-Step Instructions
Mixing the Dough: In a large mixing bowl, combine the all-purpose flour, sea salt, and instant yeast. Stir in the lukewarm water until the flour is fully incorporated and a shaggy dough forms. Add the minced garlic and chopped rosemary, mixing to evenly distribute.
Chef’s Tip: Use a wooden spoon or a silicone spatula to avoid any unnecessary mess. You’re looking for a sticky consistency, so don’t fret if it feels wet!
First Rise: Cover the bowl with plastic wrap or a clean kitchen towel and let it rise at room temperature (about 70°F) for 12-18 hours. You’ll know it’s ready when it has doubled in size and the surface is bubbly.
Visual Cue: It should look puffy and have a slight shine to it!
Shaping the Dough: Once the dough has risen, flour a clean surface generously. Using floured hands, gently turn the dough out onto the floured surface, being careful not to deflate it too much. Fold it over itself a few times to shape and tuck it into a ball.
Common Mistake to Avoid: Don’t overwork it! The minimal handling is what helps it stay light.
Second Rise: Place your dough seam-side down on a floured sheet of parchment paper, cover it with a towel, and let it rise for about 1-2 hours, until puffed.
Preheat the Oven: About 30 minutes before baking, place a Dutch oven (with the lid) into the oven and preheat to 450°F.
Baking: Once preheated, carefully remove the Dutch oven using oven mitts. Gently lift the parchment paper with the dough and lower it into the pot. Replace the lid and bake for 30 minutes.
Chef’s Tip: To get a nice golden crust, remove the lid after 30 minutes and bake an additional 15-20 minutes until the crust is deep golden brown.
Cool: Transfer the bread to a wire rack and allow it to cool completely before slicing to avoid a gummy texture.
Professional Technique: If you can resist, let it cool for at least an hour!

Expert Tips & Tricks
Hydration is Key: The wetter your dough, the better the crust! Don’t shy away from using more water, but ensure it’s balanced with flour.
Storage: This bread is best eaten fresh but can be stored wrapped in a clean kitchen towel at room temperature for 2-3 days. For longer storage, slice and freeze it.
Make-Ahead: You can let the dough rise overnight in the fridge for a tangier flavor; just bring it to room temp before baking.
Troubleshooting: If your bread is too dense, it might be under-proofed. Ensure you give enough time for the fermenting process; patience is key!
Experiment: Try adding cheese, olives, or even different herb combinations. The beauty of homemade bread is that experimentation leads to delightful surprises!
Use Quality Ingredients: Good quality flour and salt make a world of difference. Don’t compromise!
Serving Suggestions
This Rustic No-Knead Rosemary Garlic Bread pairs beautifully with a rich bowl of creamy tomato soup or a lovely garden salad drizzled with balsamic vinaigrette. You can also serve it simply with olive oil and balsamic for dipping or alongside a charcuterie board for added flair.
Presentation is key! Slice the bread diagonally and arrange it in a beautiful breadbasket, perhaps with sprigs of rosemary to echo the flavor profile. This bread is perfect for holiday gatherings or cozy family dinners—it’s bound to impress your guests!
Variations & Substitutions
Flavor Combinations: Mix it up by incorporating sun-dried tomatoes, black olives, or even spices like red pepper flakes for a kick.
Dietary Options: For a gluten-free version, substitute a 1:1 gluten-free flour blend; just keep in mind the texture may differ.
Seasonal Adaptations: Integrate seasonal ingredients like pumpkin in the fall or herbs like basil in the summer to keep it interesting.
Nutrition & Storage Info
- Prep Time: 15 minutes + resting time
- Cook Time: 45 minutes
- Total Time: 12-18 hours (including resting)
- Yield: 1 loaf (about 12 servings)
- Estimated Calories per Serving: 150 calories
- Storage Instructions: Store at room temperature in a sealed container or wrapped in foil. Refrigeration is not recommended as it can dry out the bread. It will last for up to 3 days on the countertop or can be frozen for up to 3 months.
FAQ Section
Can I use active dry yeast instead of instant yeast?
Yes, but you will need to activate it in warm water for about 5 minutes before adding it to the flour mixture.What are the best herbs to use in this recipe?
Besides rosemary, consider thyme, oregano, or even a mix of Italian herbs for a unique twist.Can I bake this in a regular oven without a Dutch oven?
You can, but it may not achieve the same crispy crust. Baking on a preheated baking stone or pan, and adding water to a tray in the oven for steam, can help.How do I know when my bread is done baking?
Insert an instant-read thermometer into the center; it should register around 200°F. Alternatively, tap the bottom of the bread—it should sound hollow.Can I add cheese to the bread?
Absolutely! Cheddar or Parmesan works wonderfully—just fold it into the dough in the last few minutes of mixing.Is it possible to make this bread dairy-free?
Yes, as this recipe doesn’t contain any dairy products. Make sure to check your ingredient brands for any hidden dairy.How do I prevent my bread from being too gummy?
Make sure to allow the bread to cool completely before slicing; it will firm up as it cools.Can I make mini-loaves instead of one large loaf?
Yes! Just divide the dough accordingly and adjust the baking time—check for doneness after about 20-25 minutes.What’s the best way to reheat leftover bread?
Lightly wrap in foil and warm it up in a 350°F oven for about 10 minutes for a fresh-out-of-the-oven taste.Can I use fresh garlic instead of roasted?
Yes, but roasted garlic adds a sweet, mellow flavor that works beautifully with the rosemary.
Conclusion
This Rustic No-Knead Rosemary Garlic Bread is not just another recipe; it’s a heartfelt staple in my kitchen, bringing warmth and love to every meal. You and your loved ones are going to adore this bread—trust me. I can’t wait to hear how it turns out for you! Don’t forget to leave your feedback or share your own twists on this delicious dish. And if you loved this recipe, be sure to check out my other wonderful baking adventures here on the blog! Happy baking!
Rustic No-Knead Rosemary Garlic Bread
Ingredients
Method
- In a large mixing bowl, combine the all-purpose flour, sea salt, and instant yeast.
- Stir in the lukewarm water until the flour is fully incorporated and a shaggy dough forms.
- Add the minced garlic and chopped rosemary, mixing to evenly distribute.
- Use a wooden spoon or a silicone spatula to avoid unnecessary mess. The dough should be sticky.
- Cover the bowl with plastic wrap or a clean kitchen towel and let it rise at room temperature (about 70°F) for 12-18 hours.
- You'll know it's ready when it has doubled in size and the surface is bubbly.
- Flour a clean surface generously. Turn the dough out onto the floured surface.
- Gently fold the dough over itself a few times to shape it into a ball.
- Avoid overworking the dough to maintain its lightness.
- Place the dough seam-side down on a floured sheet of parchment paper, cover with a towel, and let it rise for about 1-2 hours.
- About 30 minutes before baking, place a Dutch oven (with the lid) into the oven and preheat to 450°F.
- Carefully remove the Dutch oven using oven mitts. Lift the parchment paper with the dough and lower it into the pot.
- Replace the lid and bake for 30 minutes.
- Remove the lid and bake for an additional 15-20 minutes until the crust is deep golden brown.
- Transfer the bread to a wire rack and allow it to cool completely before slicing.