
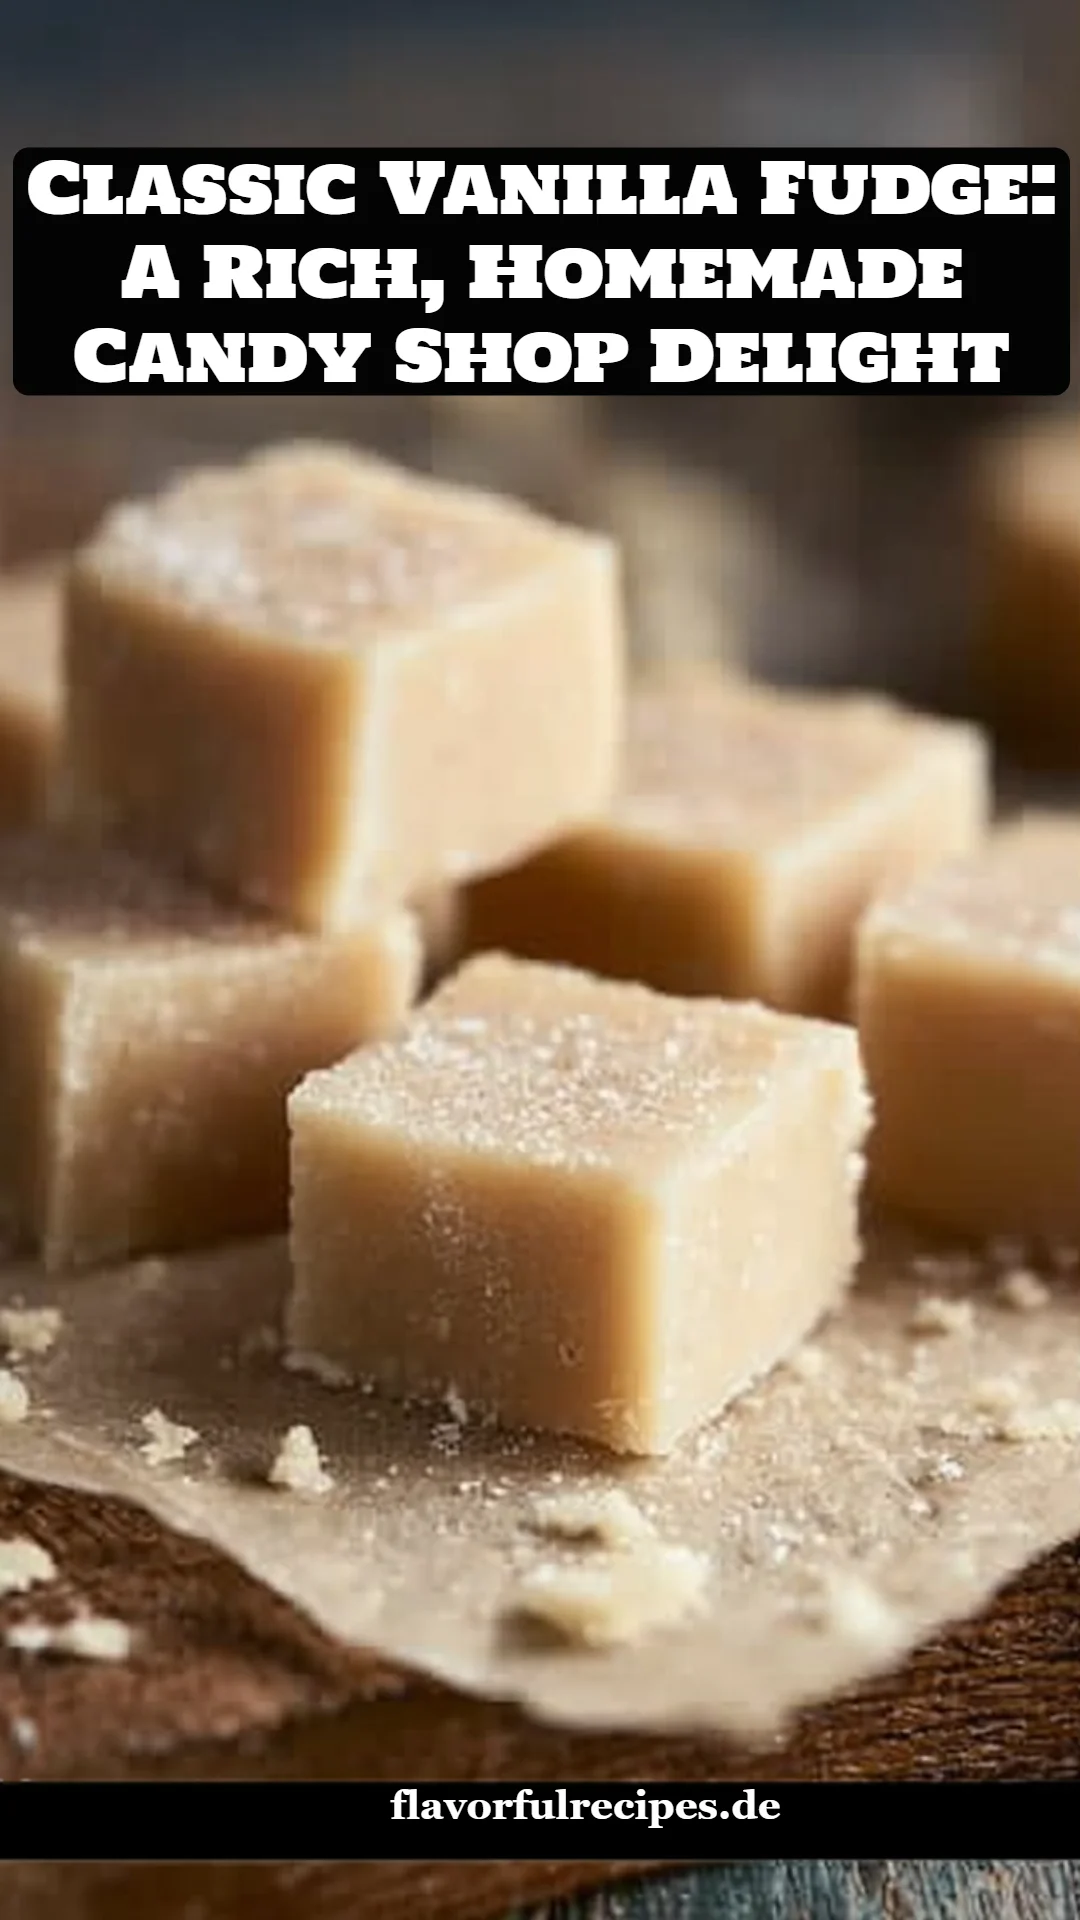
Irresistible Classic Vanilla Fudge: A Homemade Candy Shop Marvel
Growing up, sweet treats were synonymous with family gatherings. I still remember the smell of warm, creamy fudge wafting through my grandmother’s kitchen—an aroma that could make any child feel nostalgic and comforted. Classic Vanilla Fudge: A Rich, Homemade Candy Shop Delight was the crown jewel of her confectionery creations, lovingly stirred into being during the holiday season or any Sunday afternoon when the mood struck us.
What makes this fudge recipe truly special? It’s the perfect balance of creamy, buttery goodness melting in your mouth with every bite. Unlike many store-bought versions that can be overly sweet or artificial, this homemade fudge boasts real ingredients that enhance its rich flavor. It’s a recipe that doesn’t just deliver on taste; it also carries emotional weight, filled with memories of laughter, sharing stories, and creating a sense of togetherness around the table.
As you dive into this recipe, I promise you’ll learn not just how to create a batch of irresistibly smooth fudge, but also how to weave your own family memories into every chewy, delicious square. So, let’s whip up something magical!
What Are Classic Vanilla Fudge: A Rich, Homemade Candy Shop Delight?
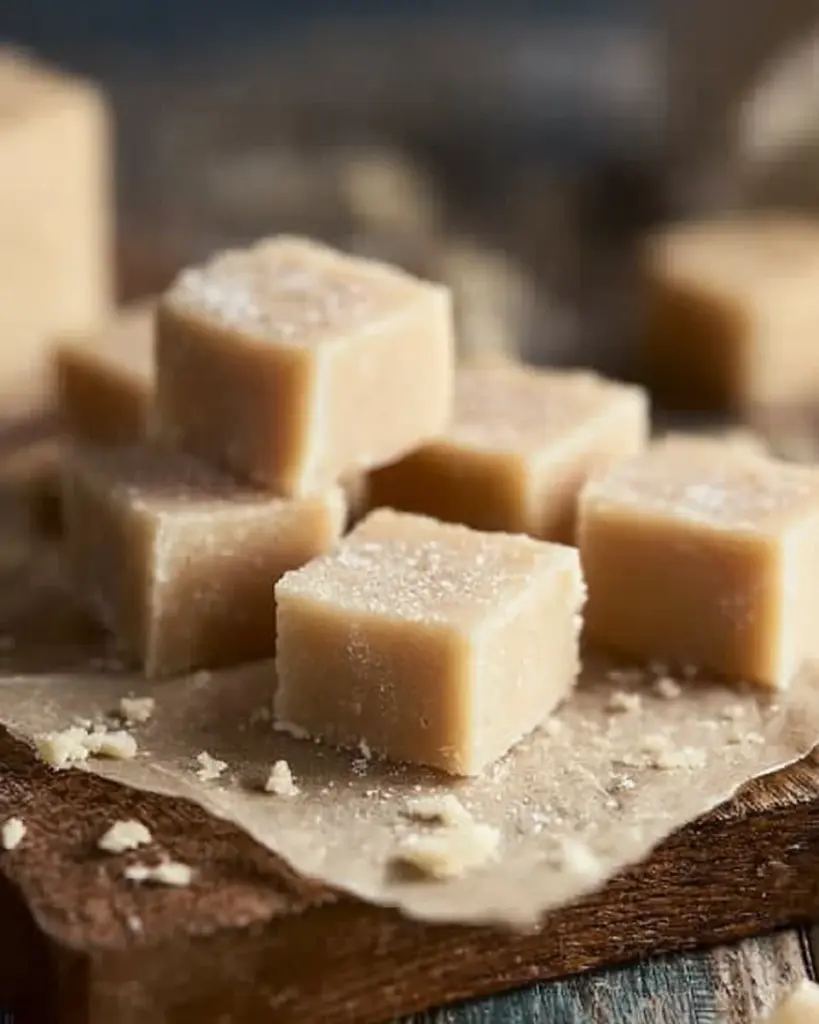
Classic vanilla fudge has roots that stretch back through decades of sweet history, originally crafted in the candy shops of Europe before making its way to kitchens across America. Its texture is a delightful combination of soft and creamy with a slight chewy finish. Each bite delivers a rich, buttery flavor that envelops your senses—imagine a cloud of sweet vanilla bliss melting slowly on your tongue.
These fudge squares are unique in their ability to evoke nostalgia and warmth with every taste. Perfect for sharing, they embody a sense of comfort that few treats can match. They’re ideal for birthdays, holidays, or as a simple gesture of love to friends and family. And when you make this version at home, you’ll gain not just a dessert but a timeless recipe that you can pass on through generations.
Why You’ll Love This Recipe
Homemade Goodness: The rich flavors you can create at home simply can’t be matched by store-bought options. This homemade version is packed with real ingredients, allowing you to taste the freshness and quality in every bite.
Cost-Effective: With just a few staple pantry items—like sugar, butter, and vanilla extract—you can create a decadent treat that’s far less expensive than artisanal fudge.
Endless Customization: Once you master the basic recipe, the fun begins! Add nuts, chocolate swirls, or even a touch of sea salt to tailor the flavors to suit your palate or season.
Easy Preparation: Don’t be intimidated by candymaking—this fudge recipe is approachable, requiring only a few steps and about an hour of your time. Perfect for beginners and seasoned bakers alike!
Memorable Experience: Making fudge isn’t just about the end result; it’s about the joy of cooking together, the laughter shared, and the memories created in the process. Plus, gifting homemade fudge will earn you major brownie points with friends and family!
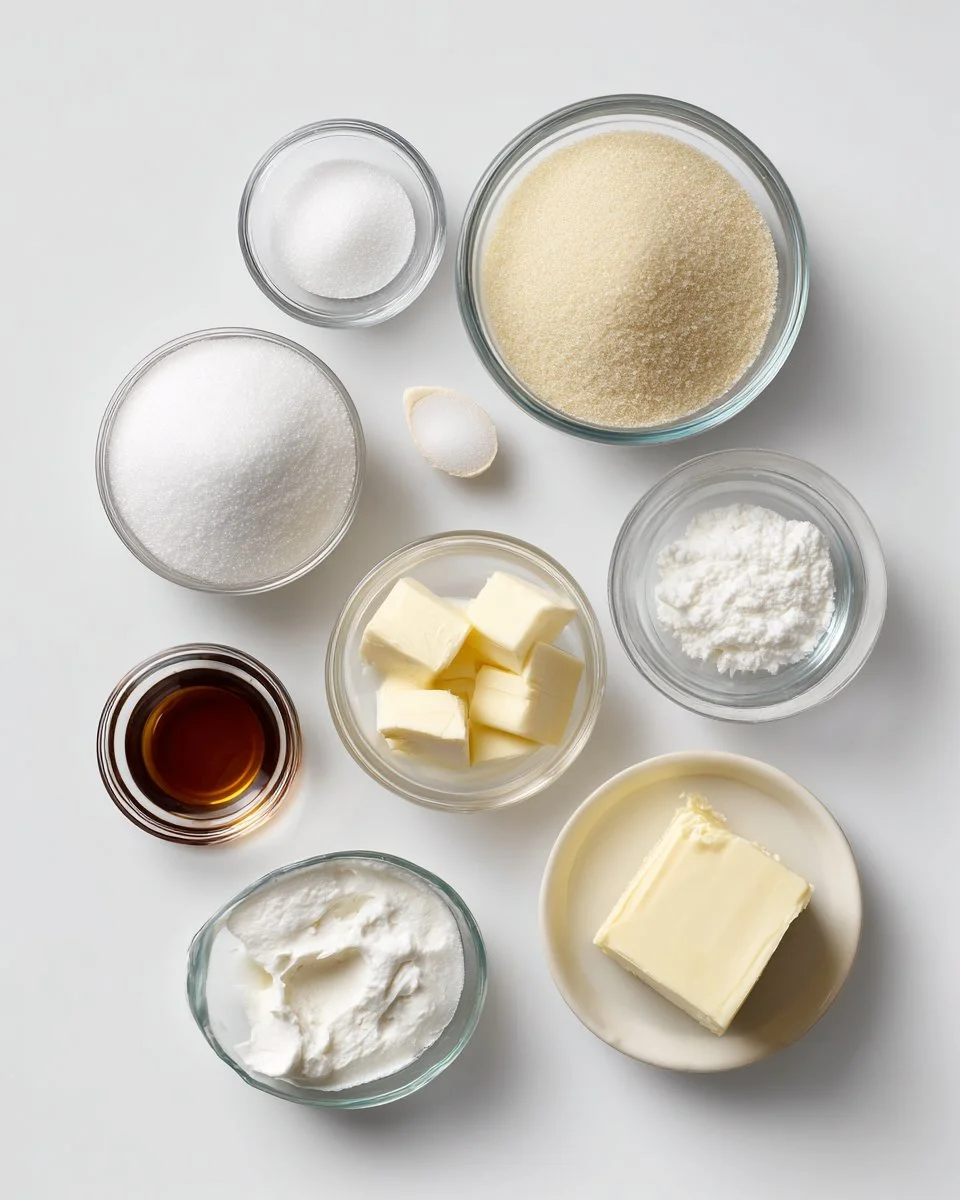
Ingredients
- 2¼ cups granulated sugar (select organic for better quality)
- ½ teaspoon salt (preferably sea salt for added flavor)
- ⅔ cup half-and-half (use whole milk for a creamier texture)
- 1 tablespoon corn syrup (prevents crystallization)
- 3 tablespoons butter (unsalted, at room temperature for easier blending)
- 1 tablespoon vanilla extract (pure is best for rich flavor)
Prep Notes:
- Make sure your butter is at room temperature to mix smoothly, and measure your half-and-half accurately for the perfect consistency.
Step-by-Step Instructions
Combine Ingredients: In a 2-quart saucepan, combine the granulated sugar, salt, half-and-half, and corn syrup. Stir with a whisk until smooth.
- Timing Tip: Start at medium-low heat and bring the mixture to a gentle boil, about 5-7 minutes.
Bring to Temperature: Attach a candy thermometer to the saucepan, ensuring it doesn’t touch the bottom. Cook the mixture WITHOUT STIRRING until it reaches 240°F—soft ball stage. This usually takes around 10-15 minutes but watch closely.
Remove and Cool: Quickly remove from heat and let it cool until bubbling stops. Add the butter and vanilla extract on top without stirring. Leave it for about 20 minutes, allowing it to settle and cool.
Beat It: Using a hand mixer on medium to low speed, beat the mixture for 1-3 minutes until it thickens and loses its shine—this is where the magic happens!
Set the Fudge: Quickly pour the fudge into a buttered or parchment-lined dish, smoothing it out if necessary. Let it set for about 20-30 minutes before cutting it into squares.
Chef’s Tips
- Temperature is Key: Keep a close watch while your fudge cooks; any variance can lead to grainy textures.
- Professional Techniques: To ensure a silky finish, avoid stirring once the mixture begins to boil.
Common Mistakes to Avoid
- Lifting the lid of the saucepan while cooking can cause a drop in temperature, leading to inconsistent results.
- Allowing fudge to cool too long before beating can lead to a hard texture rather than that perfect chewy bite!
Expert Tips & Tricks
Storage Recommendations: Store your fudge in an airtight container at room temperature for up to 1 week. For longer frozen storage, wrap it tightly in plastic wrap and foil.
Make-Ahead Instructions: Fudge can be prepared up to a week in advance. Just ensure it’s stored correctly to maintain freshness.
Troubleshoot Crystallization: If your fudge turns grainy, the sugar may have crystallized. You can try microwaving it gently to remelt and rebeat; however, it’s better to keep a close eye during the initial cooking!
Perfecting Your Technique: If your fudge is too soft, it may not have cooked long enough. Simply heat it again gently and rebeat until you achieve the right consistency.
Flavor Enhancements: Consider drizzling with chocolate or sprinkling with sea salt before it fully sets for a gourmet touch.
Serving Suggestions
Pair these delicious fudge squares with a rich cup of coffee or hot chocolate, making them perfect for cozy evenings. They also serve as a delightful treat at parties or holiday gatherings—they’re a show-stopper! Presentation can be enhanced by placing them in small, festive boxes or on platters, with a sprinkle of powdered sugar for that extra charm.
Variations & Substitutions
Flavors: Experiment with different flavor extracts such as almond or peppermint for seasonal treats. A swirl of chocolate or caramel can add an exciting twist!
Dietary Restrictions: For a vegan option, replace butter with coconut oil and use a plant-based milk alternative.
Seasonal Variations: During fall, incorporate spices like cinnamon or pumpkin pie spice for a seasonal delight. In summer, go for citrus zest to brighten up the flavor.
Nutrition & Storage Info
- Prep Time: 10 minutes
- Cook Time: 20-30 minutes
- Total Time: 40-50 minutes
- Yield: About 24 squares
- Calories: Approximately 140 calories per serving
- Storage Instructions: Best kept at room temperature; can be refrigerated for longer freshness.
FAQ SECTION
Why did my fudge turn out grainy?
- This could be due to sugar crystallization. Make sure when cooking, you don’t stir the mixture once it starts to boil.
Can I use alternative sweeteners?
- Yes, you can try alternatives like stevia or monk fruit sweetener, though the texture may vary.
What’s the best way to cut fudge?
- Use a sharp knife, and lightly grease it to prevent sticking. For cleaner cuts, run hot water over the blade beforehand.
How can I ensure my fudge sets firmly?
- Ensure your candy thermometer is working correctly and that you reach the correct temperature. It should be a soft ball stage.
Is there a way to fix too soft fudge?
- If your fudge didn’t set properly, try reheating it gently and bringing it back to 240°F before re-beating.
Can I add nuts to my fudge?
- Absolutely! Chopped nuts can add a pleasing crunch—just mix them in before pouring out the fudge into the dish.
Why do I need half-and-half instead of cream?
- Half-and-half provides a nice balance of richness without making the fudge overly heavy. However, feel free to use cream for a richer taste!
How long can I store the fudge?
- Fudge can be stored at room temperature for up to 1 week or in the fridge for up to 2 weeks.
How can I make my fudge more chocolatey?
- Replace part of the sugar with cocoa powder, or swirl melted chocolate into the fudge right before pouring it into the dish.
What’s a good way to present my fudge as a gift?
- Wrap squares in decorative boxes or bags tied with ribbons, and add a personalized note for a special touch.

Conclusion
This Classic Vanilla Fudge: A Rich, Homemade Candy Shop Delight is more than just candy—it’s a ticket back to family kitchens filled with love and laughter. I’ve made this fudge countless times, and every batch turns out sweeter than the last, inspiring smiles and shared stories. I encourage you to give this recipe a try; the fudge will certainly become a staple in your home, just as it did in mine.
Feel free to leave your feedback or any questions in the comments below—I’d love to hear your stories and variations! Don’t forget to check out my other delectable recipes on the blog for more homemade delights. Happy cooking!
Classic Vanilla Fudge: A Rich, Homemade Candy Shop Delight
Ingredients
Method
- In a 2-quart saucepan, combine the granulated sugar, salt, half-and-half, and corn syrup. Stir with a whisk until smooth.
- Start at medium-low heat and bring the mixture to a gentle boil, about 5-7 minutes.
- Attach a candy thermometer to the saucepan, ensuring it doesn’t touch the bottom. Cook the mixture WITHOUT STIRRING until it reaches 240°F (soft ball stage), usually around 10-15 minutes.
- Quickly remove from heat and let it cool until bubbling stops. Add the butter and vanilla extract on top without stirring; leave for about 20 minutes.
- Using a hand mixer on medium to low speed, beat the mixture for 1-3 minutes until it thickens and loses its shine.
- Quickly pour the fudge into a buttered or parchment-lined dish, smoothing it out if necessary. Let it set for about 20-30 minutes before cutting it into squares.